To launch a campaign there are a few steps involved between your CRM Apps, Targets App, and Campaigns App. Follow the steps below for a high-level overview of managing a campaign from start to finish.
- Create a Target List
- Create a Campaign
- Add the Target List to Campaign
- Create an Email Template
- Launch the Campaign
- View Communication Status of that Campaign

Create Target List
Apptivo empowers to promote a product through email. You need to create a target list, before you proceed to launch a campaign. The target list is nothing but a list of leads, opportunities, contacts, customers and targets. Once a target list is created, it can be added to the campaign.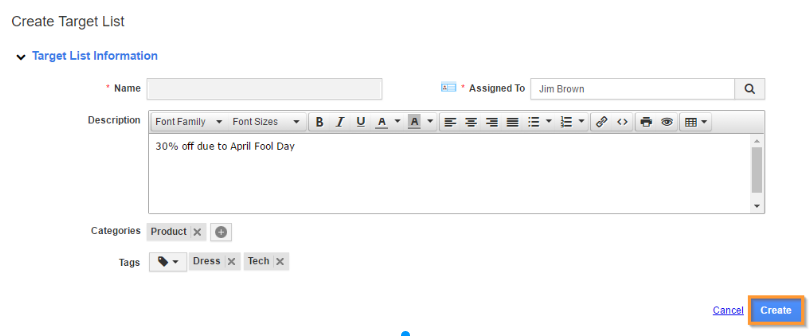
Create Campaign
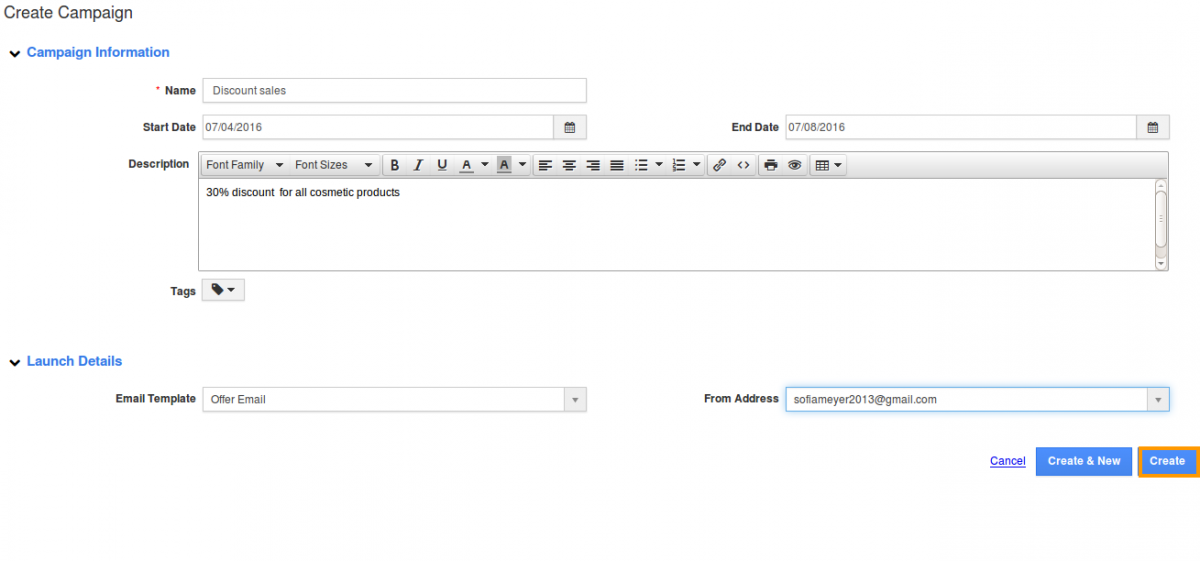
The campaigns can be created newly by entering the required information in the appropriate fields. Wherein the Email templates and from address are mandatory to create the campaign, which can be fetched from settings option page.
- Create a new campaign – the campaign can be created newly by giving the particulars related to campaign.
- Create a quick campaign – the quick campaigns can be created where it is not necessary to create a target list for each campaign.
Add Target List to Campaigns
Now, you can add the target list to your campaign.
Email Template and Email Themes
Campaigns App Email Templates are pre-organized message formats that you can send to your targets. You can design a campaign email template, to make your email look standardized rather than sending plain text.
Email Themes allows you to design an email template according to your business requirements. These are used to attract the people with different styles & background. It can be categorized as Standard & Customized. Here, you can choose any theme for newsletter. We offer twenty-one standard default themes.
Launch Campaign
Now, you are ready to launch the campaign. Click on the “Launch” button present.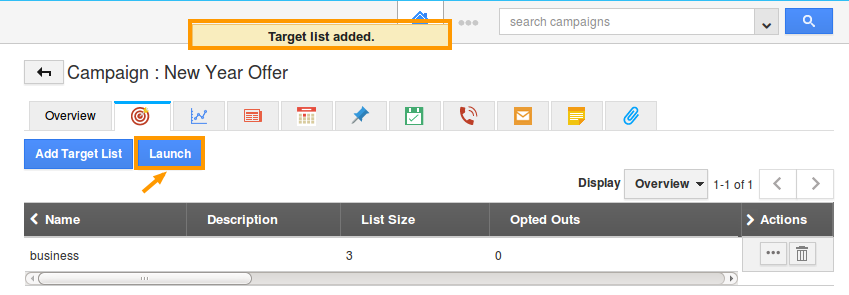
View Communication Status of the Campaign
After the campaign has been launched, you can check the communication status by using the dashboard option. Which will show the number emails sent, received, opened and clicked. Also there is a separate column for spam and blocked percentage.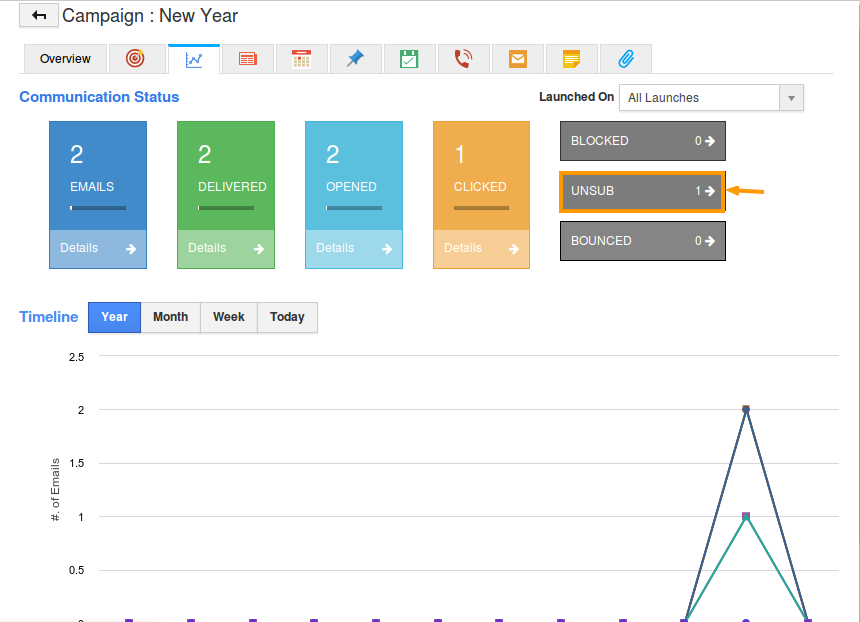
For instance:
- To view the unsubscribed objects – Click on the “UNSUB” button present, as shown above. Now, you can view the list of unsubscribed contacts, where you can view their details accordingly, by clicking on “More Details (…)”.
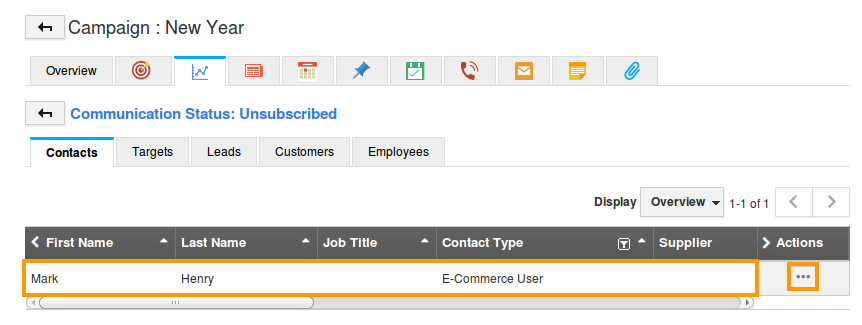
Now, the unsubscribed contacts overview page will be displayed, where the “Unsubscribe” will be toggled ON automatically.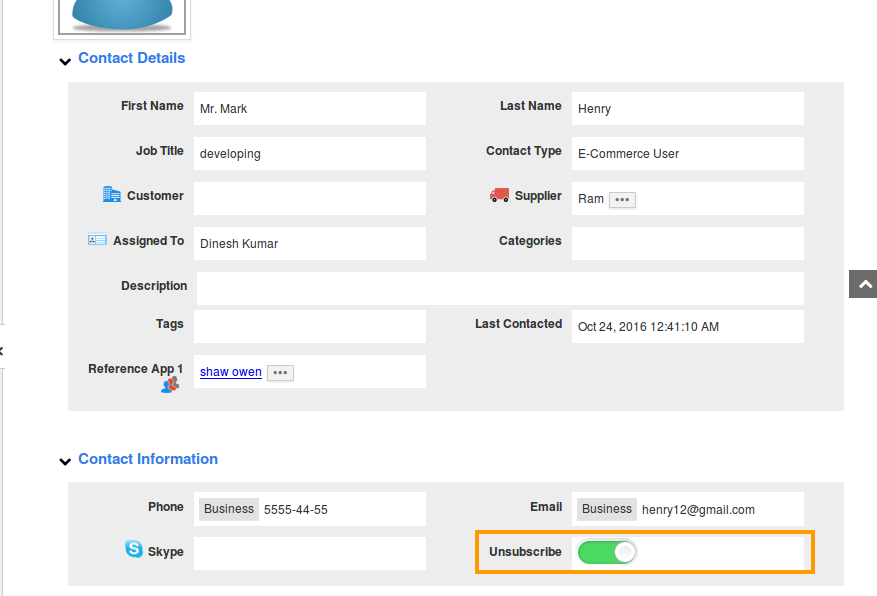
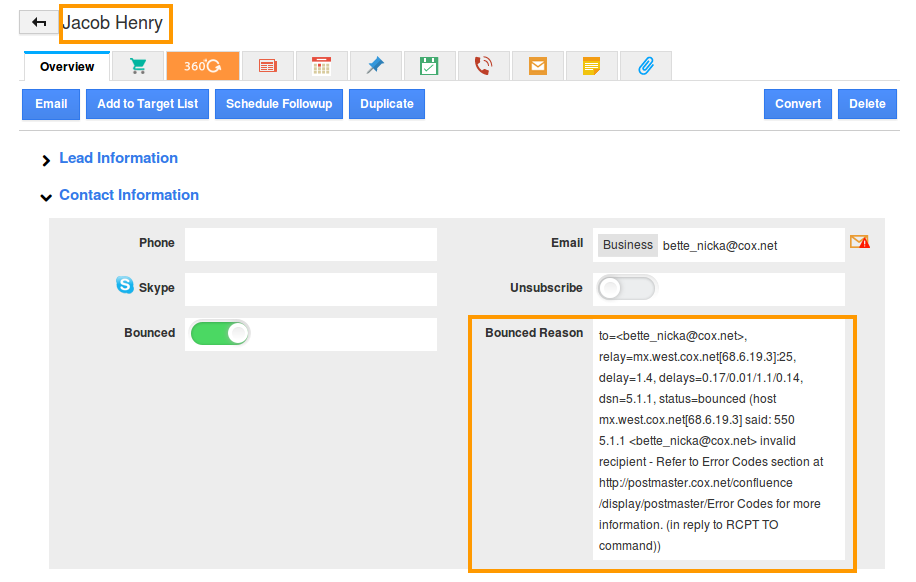
- To view the bounced objects and bounced reasons – Click on the “BOUNCED” section in the “Dashboard” tab, to view the list of objects (Leads, Contacts, Customers, Targets, Employees) who have clicked on the unsubscribe link.
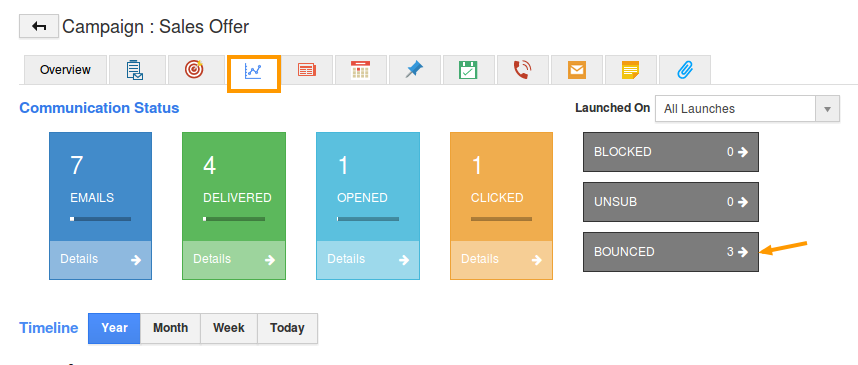
Now, the objects (say, “Lead”) bounced reasons can be viewed.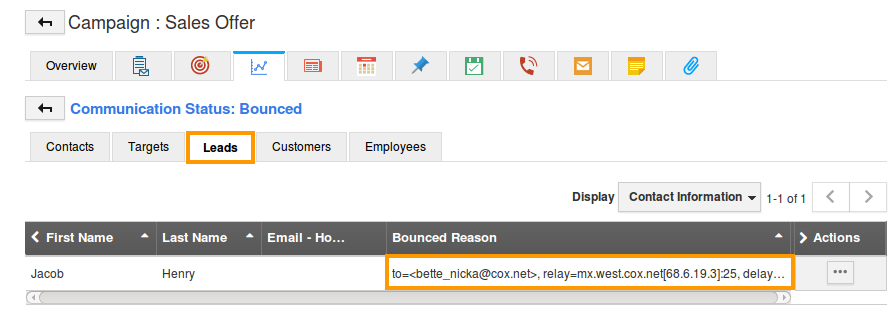
It can also be viewed in the overview page of that Lead.